
Access & Authentication
All connections to the Addepar API must be authenticated through assigned permissions, generated key and secrets, and properly formatted requests.
Addepar authenticates HTTPS. If you need to authenticate via bearer auth, visit OAuth.
Your API keys carry weight. Make sure you store the combinations in a secure location. Don't store or share your secret API keys in places where people can easily view and use them.
To establish API access, follow the steps below.
Step 1: Assign appropriate API permissions to the API user
To manage API integrations, your Addepar user credentials must be permissioned for API access.
Addepar API access permission includes all API-related features including:
- Creating API keys.
- Generating API access URLs that can be used to establish integrations with applications like Microsoft Power Query.
- Accessing all data permissioned to the API key holder.
To grant API access:
- Select Firm Administration from the global navigation bar, and then in the left navigation menu click Users under User Permissions.
- From the list of firm users, choose the individual whose permissions you'd like to set.
- Click the Permissions tab.
- Scroll down to API Access, and select the Create, edit, and delete option.
Step 2: Create an API key and secret combination for the API user
API access keys are the authentication credentials to use the Addepar API. Each API key is paired with a secret that's shared only with the user who creates them in the application. The key and the secret are both required to authenticate API requests.
Each API key and secret pair respects the tool and data permissions granted to the user who created the key. Your API key grants access to:
- All data you have permission to access, including both client portfolios and groups.
- All tool permissions assigned to you in Addepar, including the ability to view, create, update, and delete clients, investments, groups, attributes, files, and Addepar user profiles.
3rd Party DevelopersTo request an API key and secret, contact your firm administrator.
To create an API key and secret:
- Select Firm Administration from the global navigation bar, select Firm Settings, and then click API Access Key in the left navigation menu.
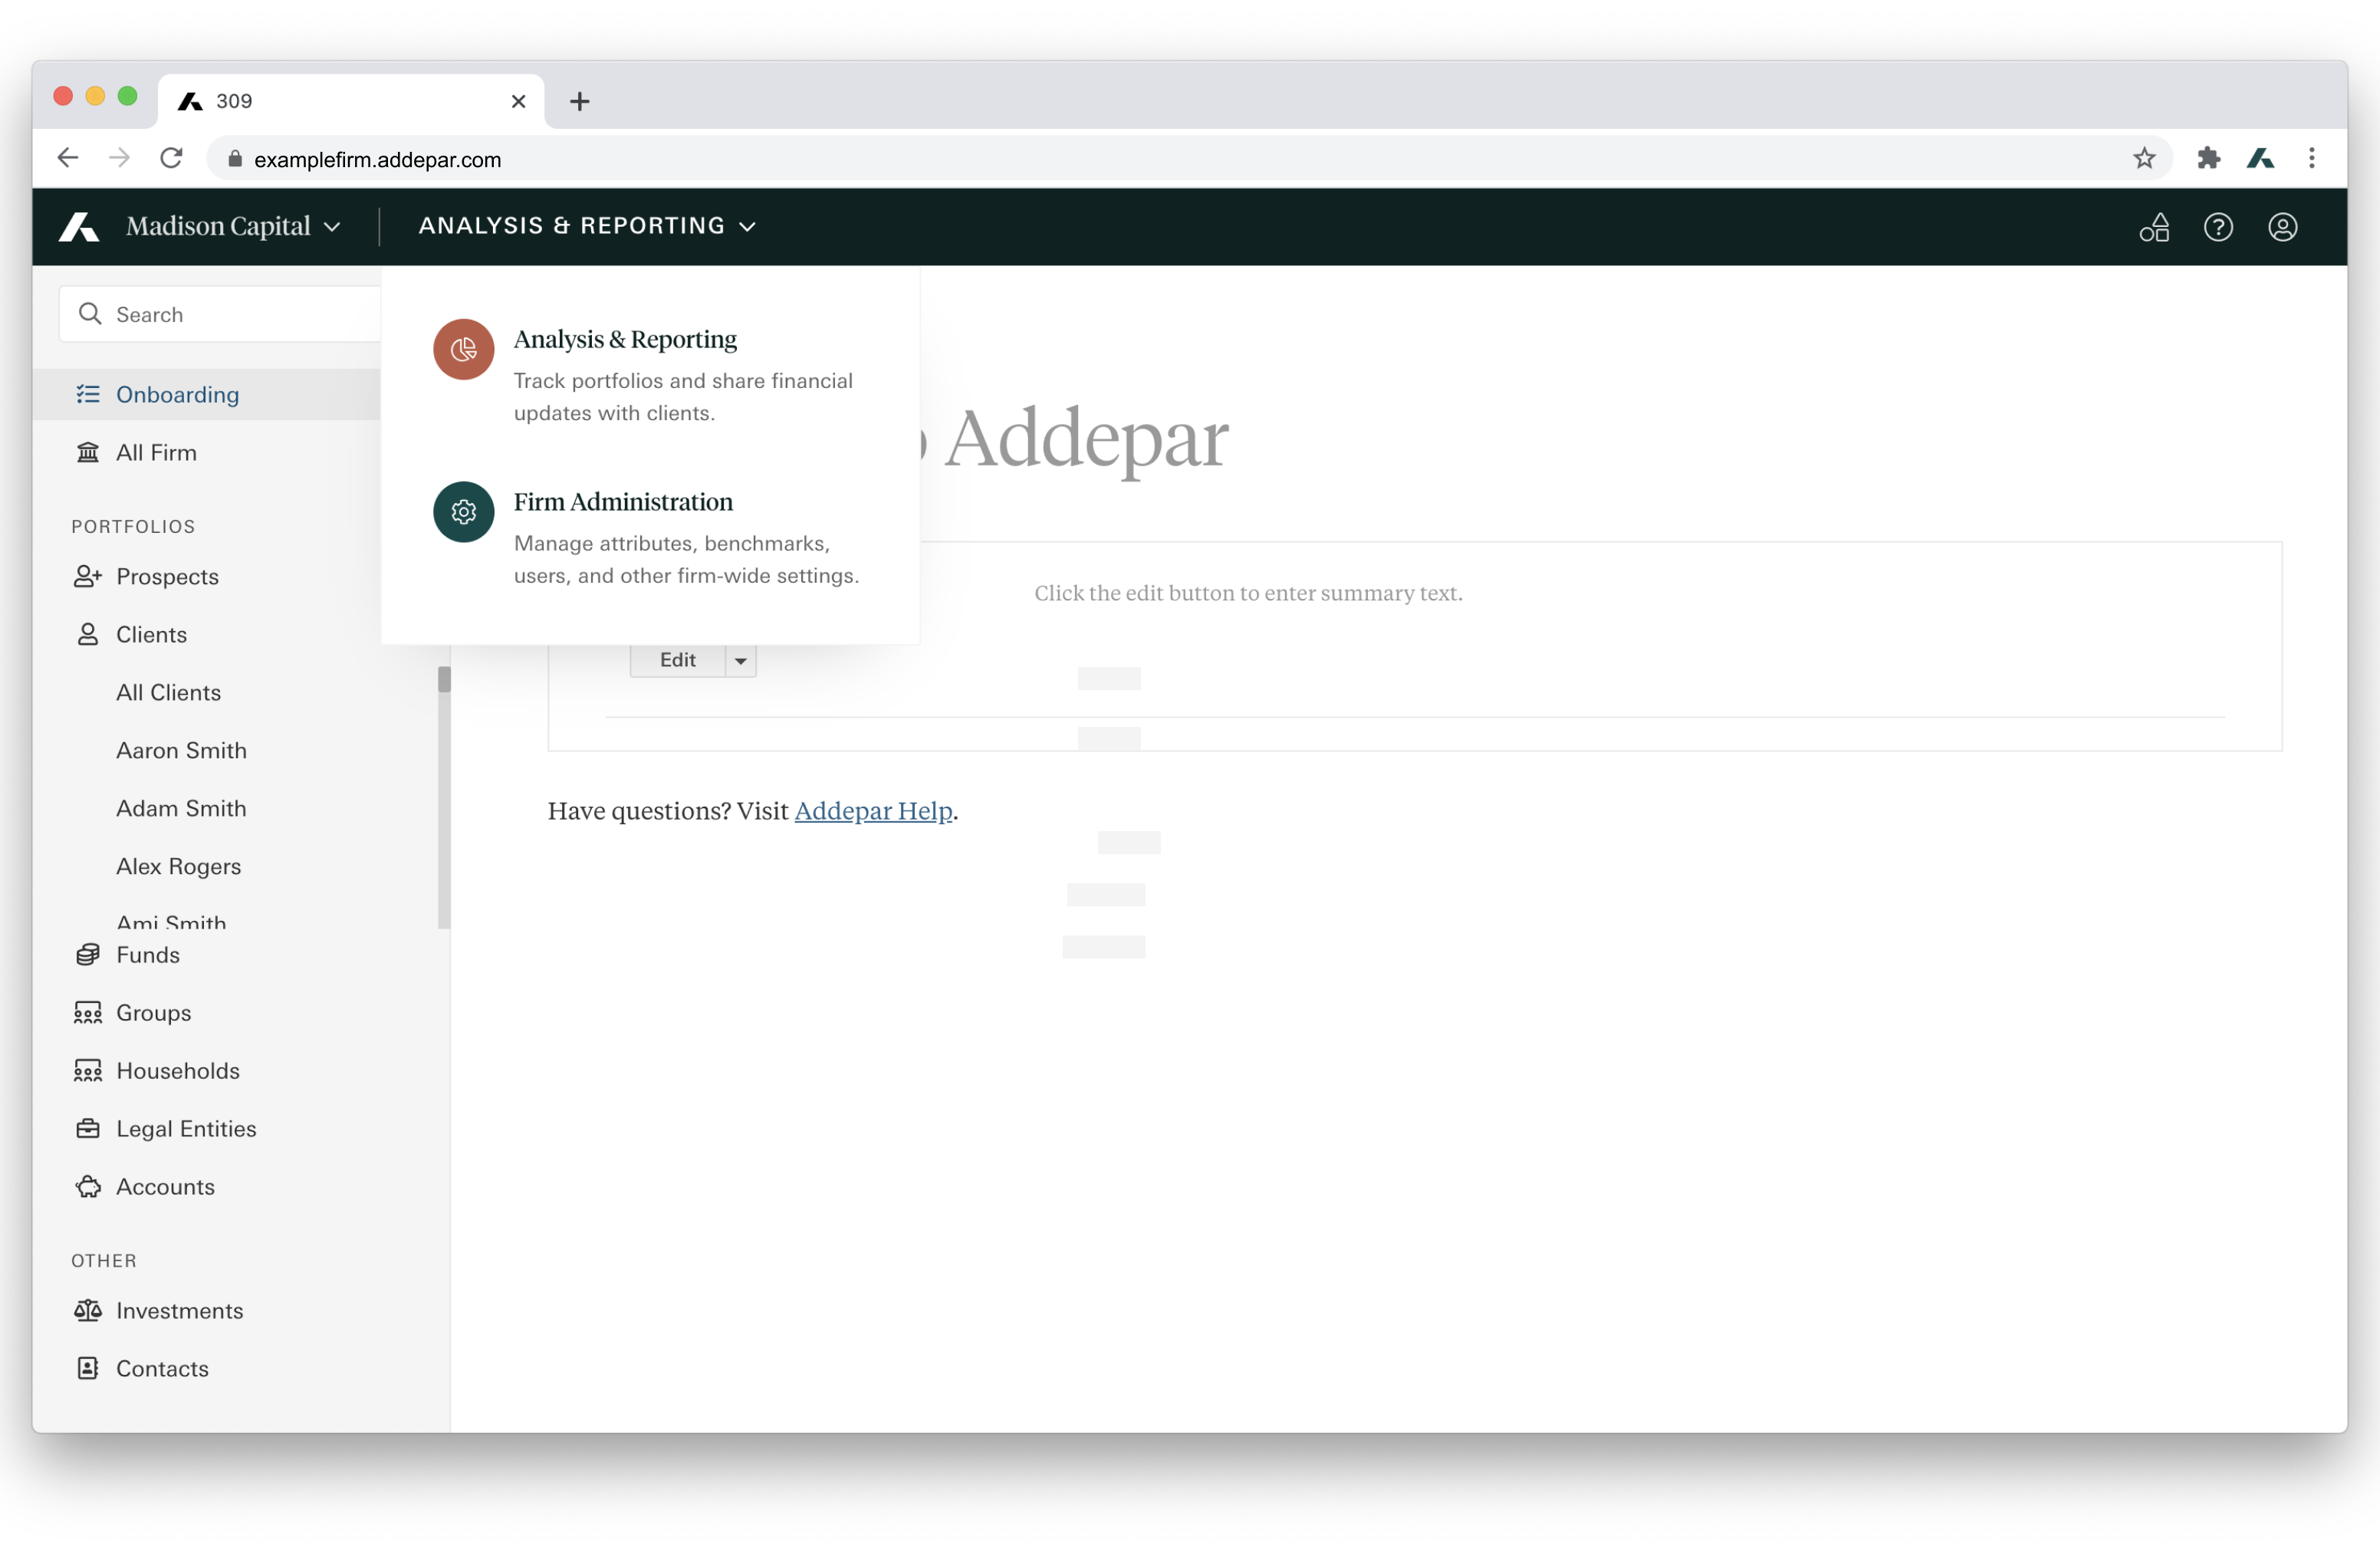
- Click the plus button in the rightmost corner of the table header.
- Enter a description of the key (typically the name of the integration it supports).
- Click Submit.
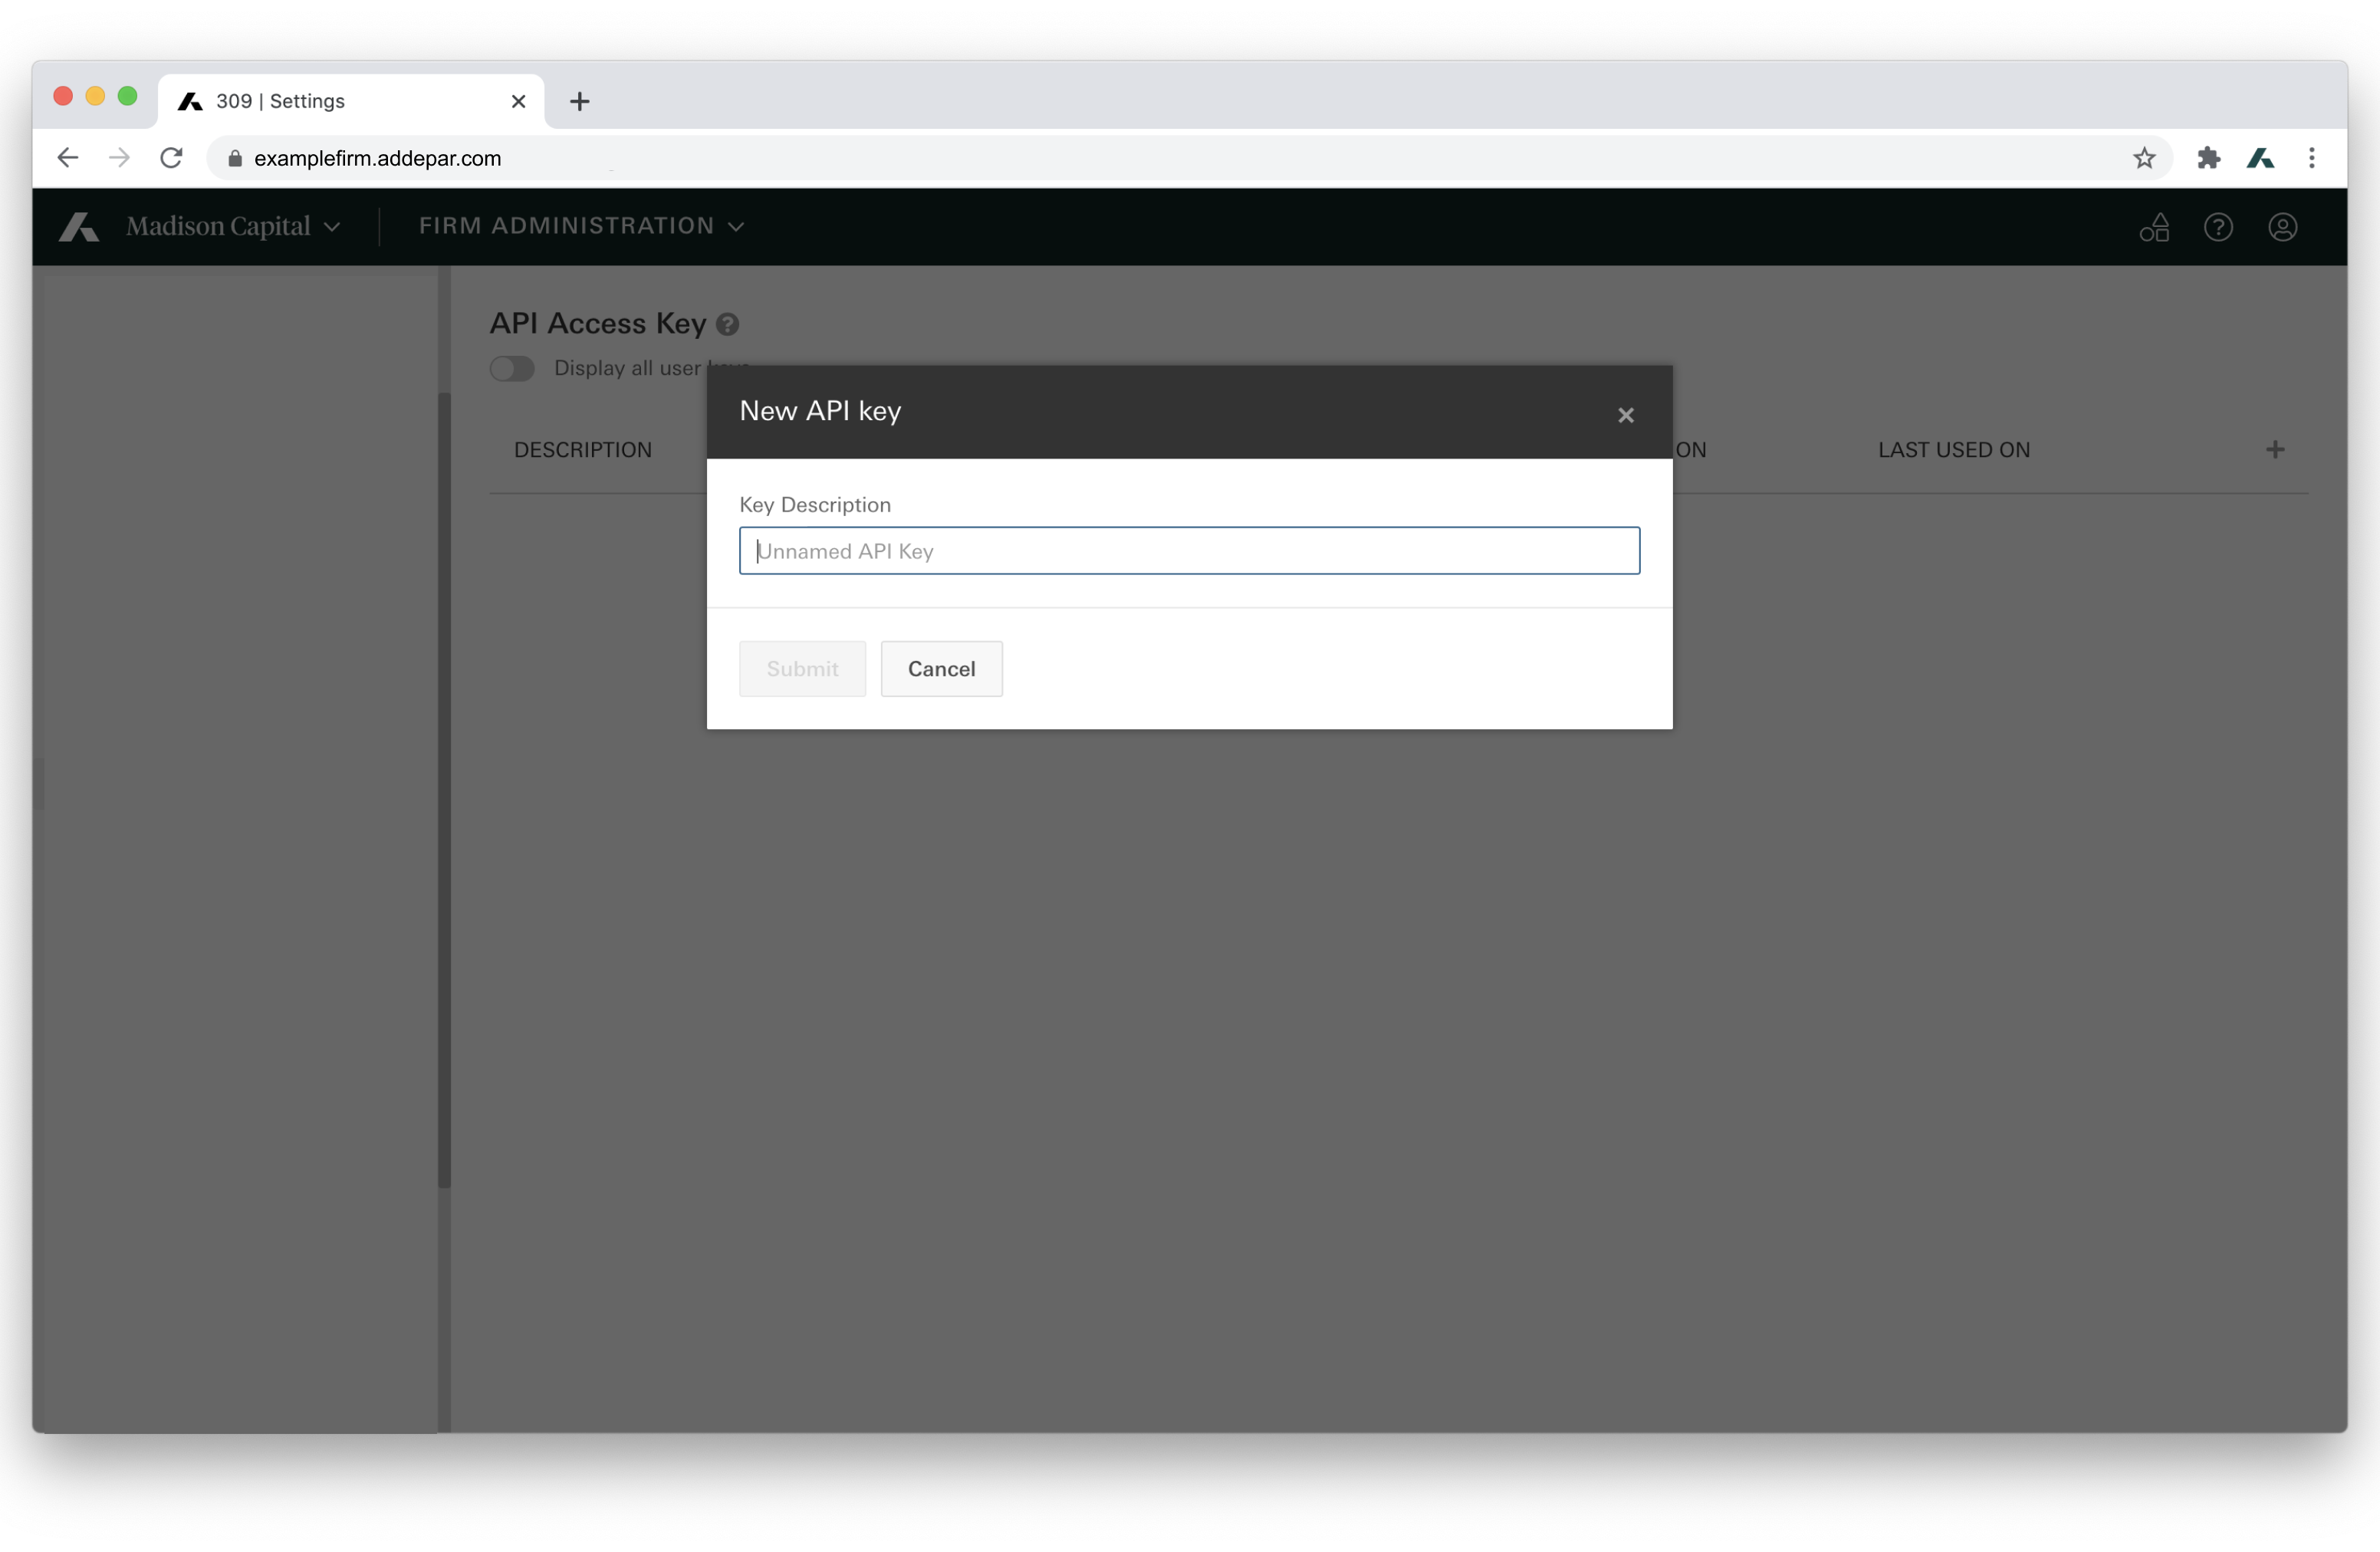
- Record the key and secret, and store the combination in a secure location.
Review Key Usage
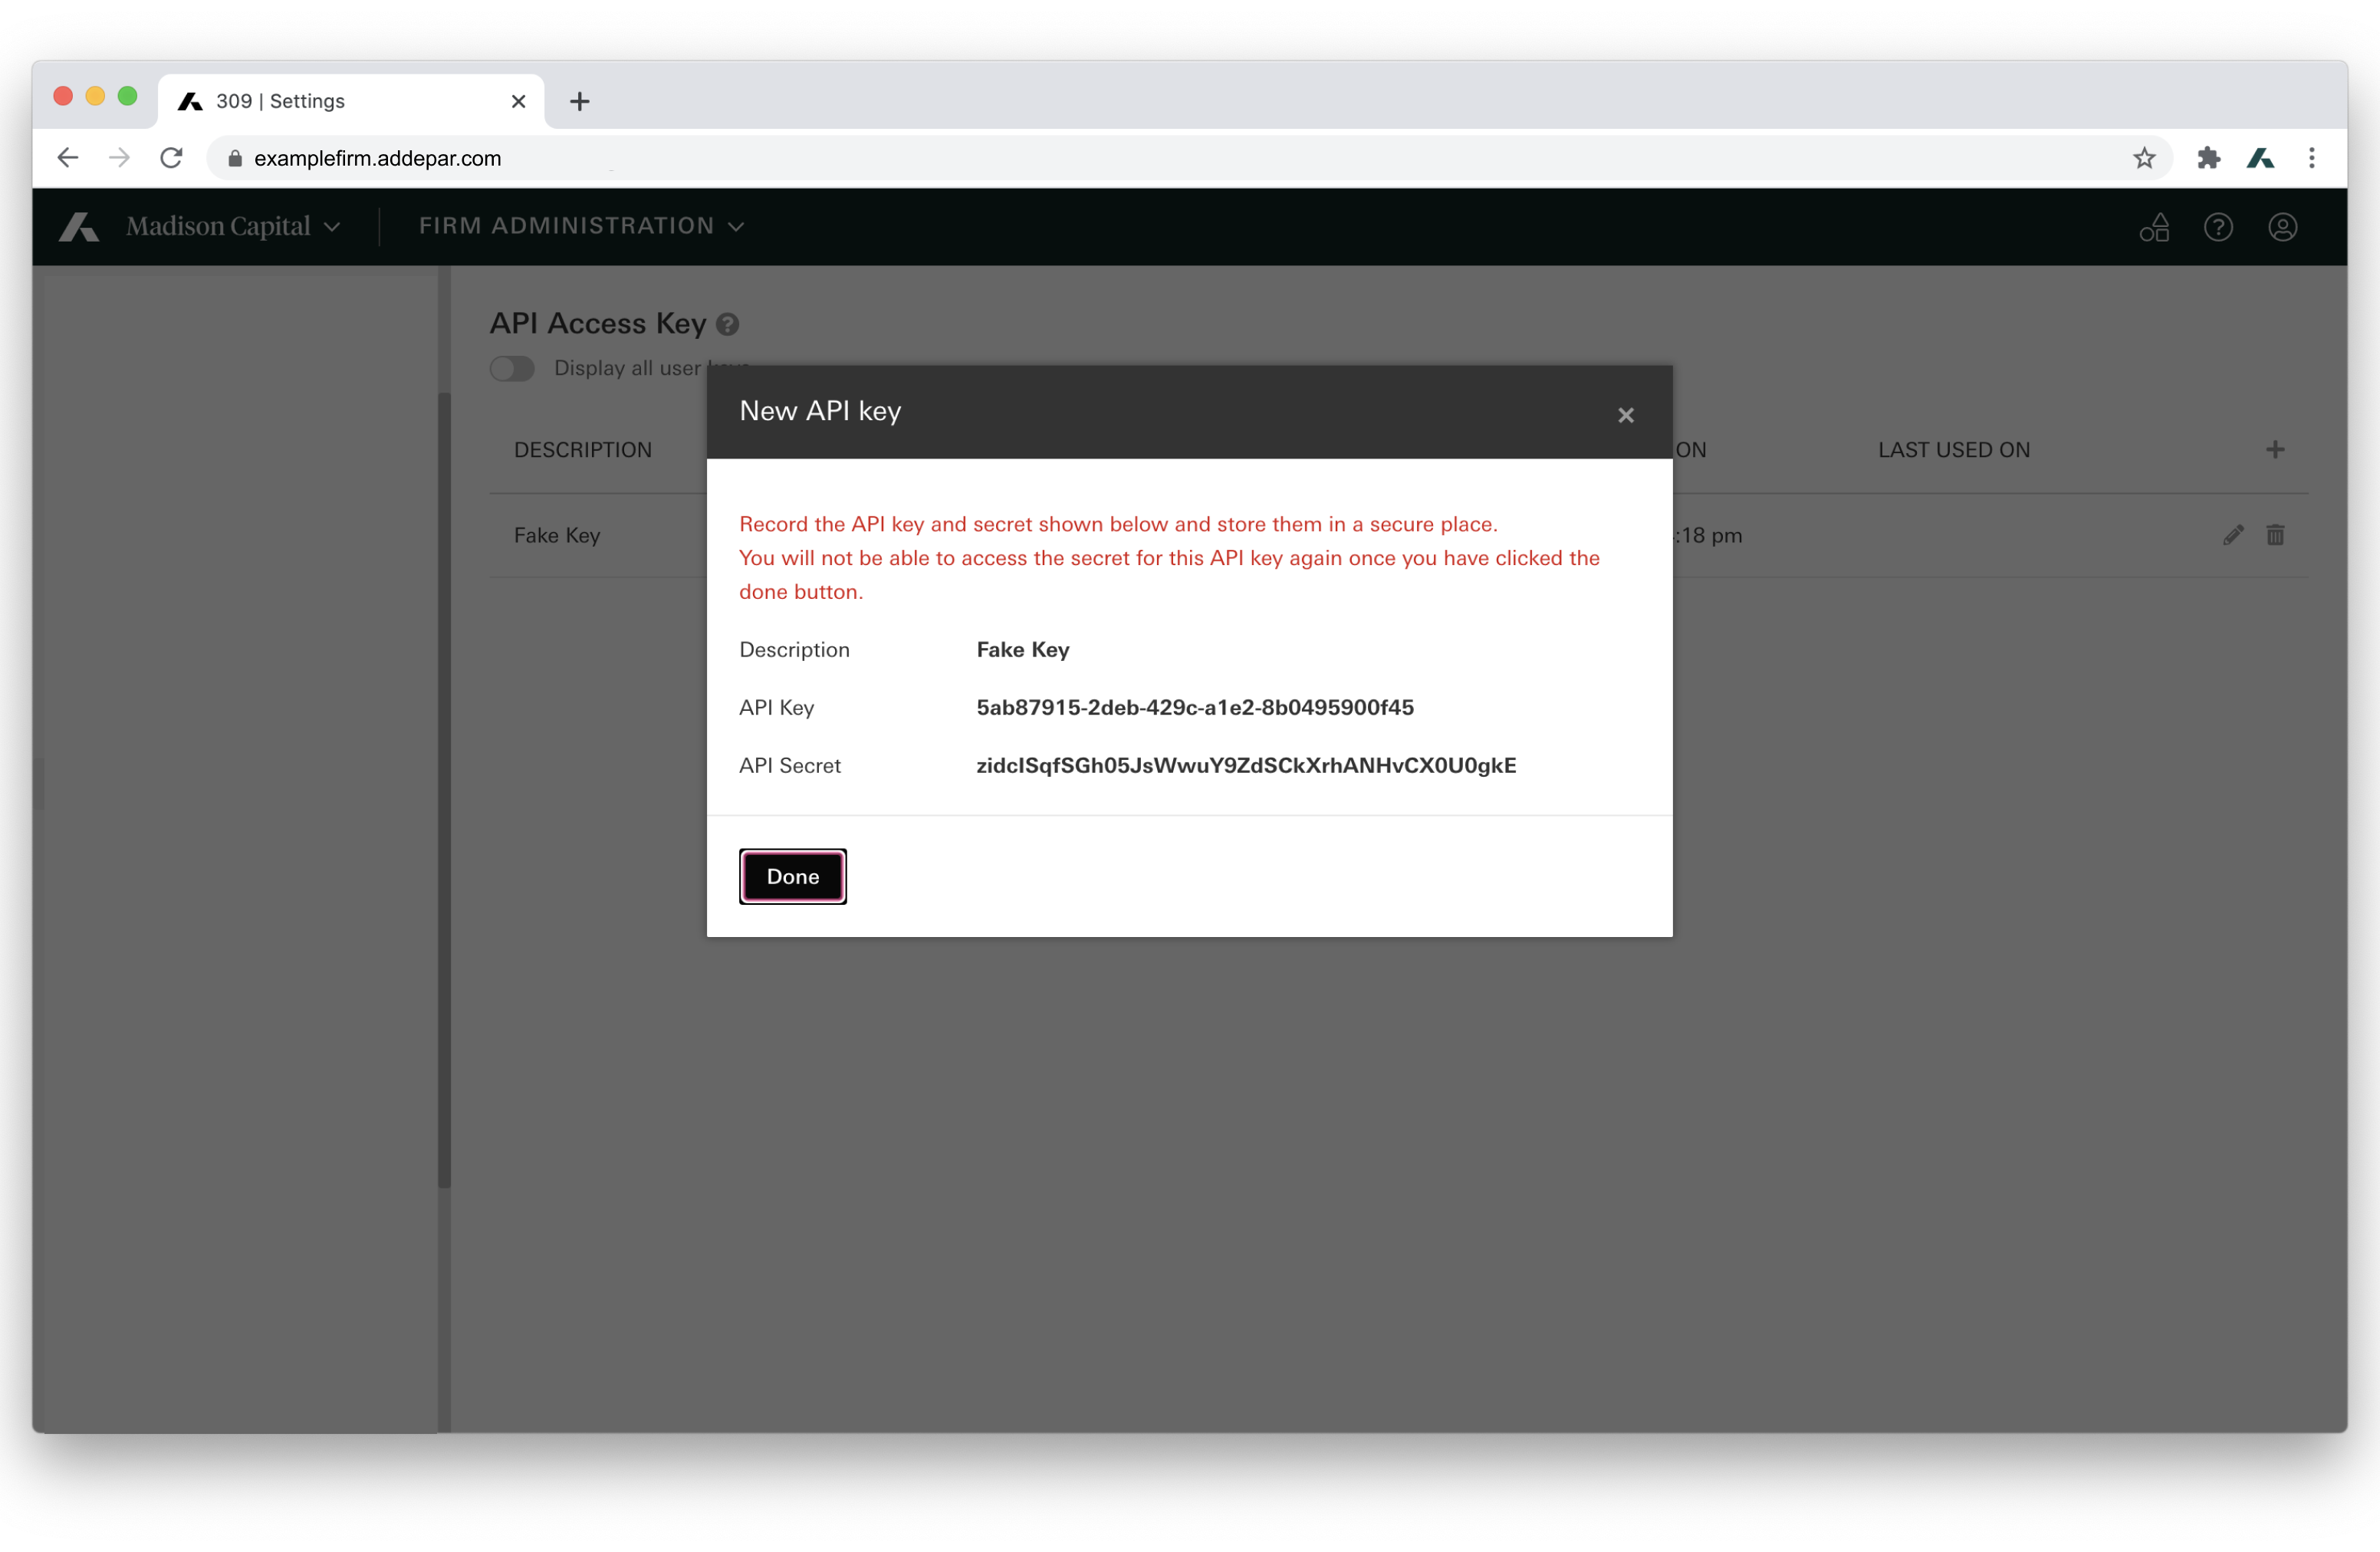
To review API key usage, select "Display all access keys" in the API Access Key settings, and then review the “last used on” date for each API key.
Step 3: Ensure that each API request has the required headers and follows the correct format
Addepar allows only authenticated requests to the API. All API requests must be made over HTTPS. Requests made over HTTP or without authentication will fail. The Addepar API uses HTTP Basic Auth to authenticate API requests. You need to pass your authentication credential as a header in each API request.
The authentication credential can be constructed by:
- Combining your API Key and password API Secret with a single colon (:).
- Encoding the combined string using a variant of Base64.
- Prepending “Basic” and a space to the result.
To identify your firm when making API requests, you need to include your firm ID as a header. You can find your firm ID by generating an API URL in the application. To do so, open the Analysis Tool, click Export above the table, and select “Generate API URL.” Your firm ID is listed as the value of “addepar_firm=” in the URL string. You will need to replace “firmdomain” to match the URL your firm uses to log into the Addepar application.
For example, if your firm is Terra Bella Capital, your API URL may be https://terrabella.addepar.com/api/v1.
Required Headers
GET and DELETE requests:
- Authorization: "Basic [Base64-encoded Key:Secret]"
- Addepar-Firm: "Firm ID"
curl --request GET 'https://examplefirm.addepar.com/api/v1/entities/1234' \
--header 'Addepar-Firm: 1' \
--header 'Authorization: Basic YmZiYWFlZjUtZmYwMC11MWZkLWE0Y2YtYjg4MjcxNmQzZGVjOjlPdU40d3RRbzZ1MkEwSXZnb3U4Y3FOWVZjZmsyV2g0OHkzTFZBZmY='
POST and PATCH requests:
- Authorization: "Basic [Base64-encoded Key:Secret]"
- Addepar-Firm: "Firm ID"
- Content-Type: "application/vnd.api+json"
curl --request POST 'https://examplefirm.addepar.com/api/v1/entities' \
--header 'Addepar-Firm: 1' \
--header 'Content-Type: application/vnd.api+json' \
--header 'Authorization: Basic YmZiYWFlZjUtZmYwMC00MWZkLWE0Y2YtYjg5MjcxNmQzZGVjOjlPdU40d5RRbzZ1MkEwSXZnb3U4Y3FOWVZjZmsyV2g0OHkzTFZBZmY=' \
--data-raw '{
  "data": {
    "type": "entities",
    "attributes": {
      "original_name": "New entity",
	  "currency_factor": "USD",
      "model_type": "PERSON_NODE"
    }
  }
}'
Data Privacy Best Practices
To protect your firm’s data, Addepar recommends taking the following precautions:
- Store each API key/secret combination in a secure location and do not share it with any other user: guard the combination with the same care you would use for any sensitive password.
- Create a different key for each integration. Doing so will protect existing integrations if a key is lost, and will also help to track who is managing each integration and how often.
- Create a separate profile with the appropriate permissions any time you would like to share a key with a third party (for example, to support an integration).
- Appoint a firm admin to monitor the API keys in use and to delete any obsolete keys
API keys & secrets should never be shared in publicly accessible areas such GitHub, client-side code, and so forth. Sharing as plain text in an email is also not recommended.
Updated 27 days ago